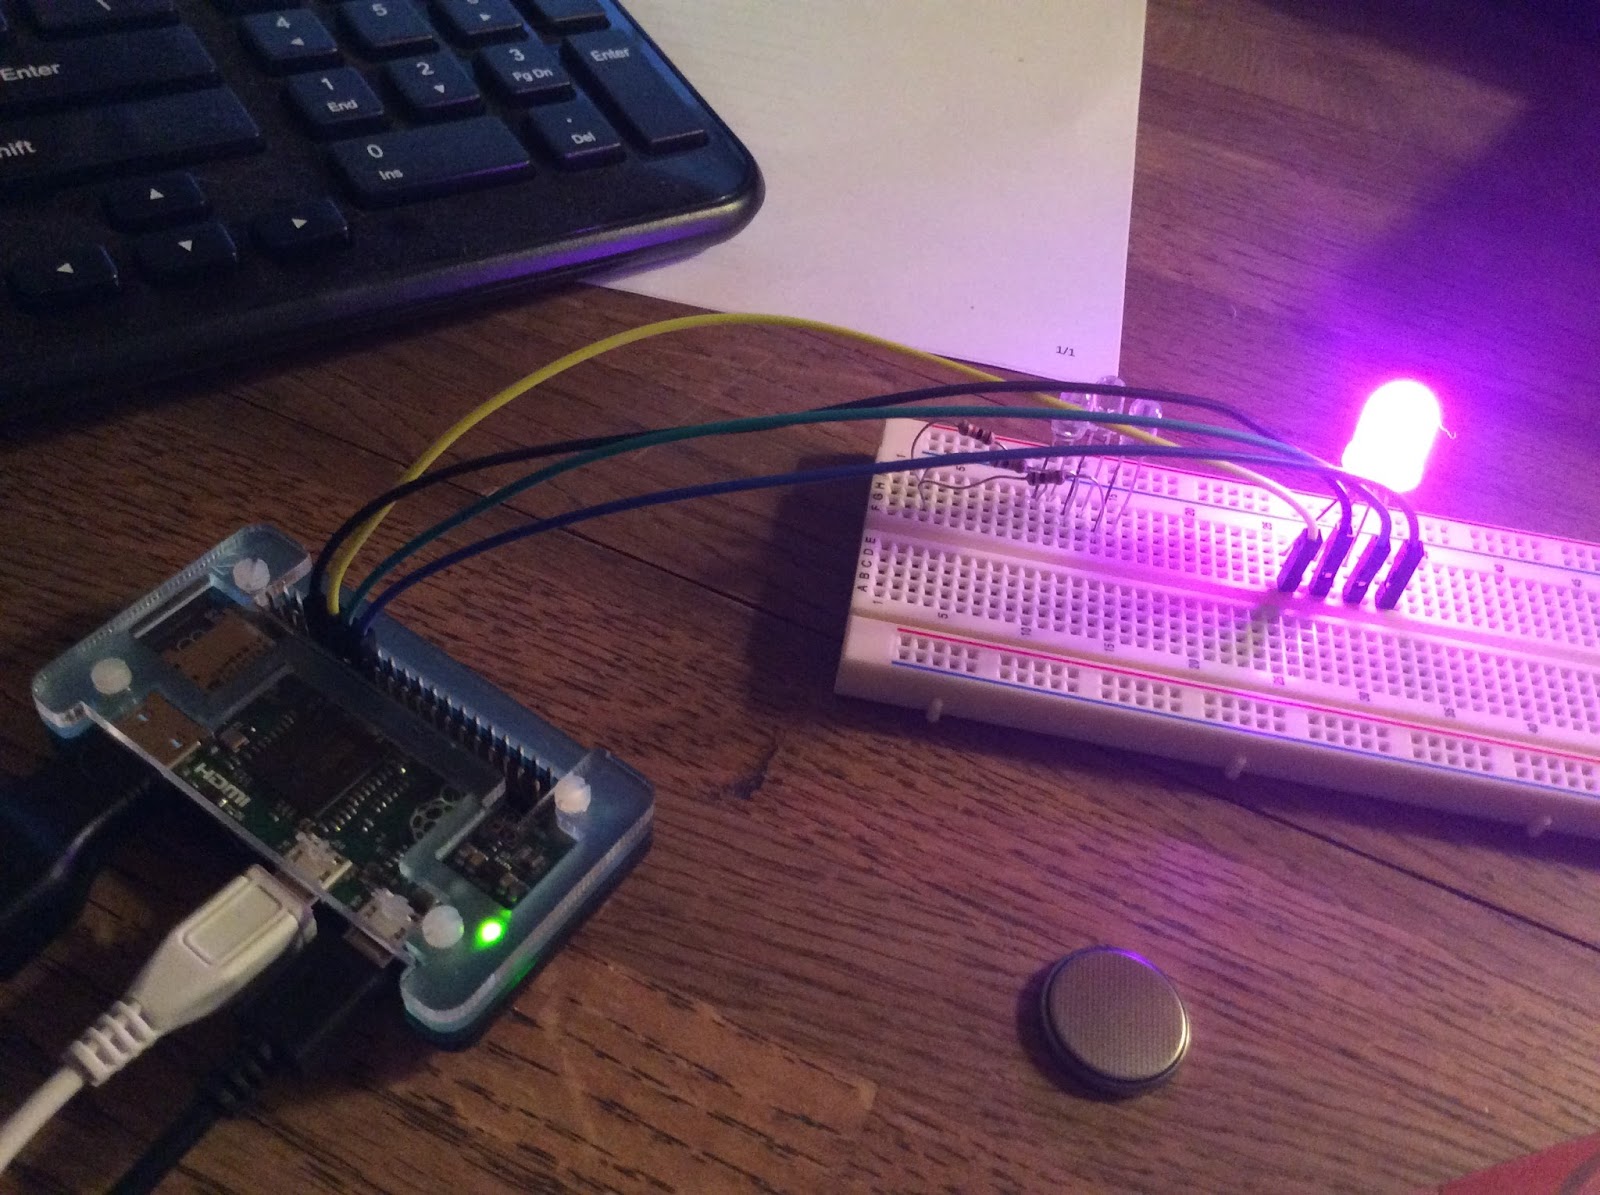
Internet Connected CheerLights Hat (Featuring a Photon)
For more details, CHECK OUT MY INSTRUCTABLE!
The result of my tinkering was an internet-enabled hat that changes colors in sync with lights all over the world, in response to Twitter messages mentioning @CheerLights and the name of a desired color.
If you end up doing something like this with students, you might be also interested in knowing that there's even a free CheerLights Chrome extension in the Google Chrome store, which will allow you to see the most recent color set on the CheerLights Application Programming Interface (API) in an icon on the top right corner of your browser! This might be useful if you are engaged in prototyping with CheerLights, (or if you're just curious).

Useful Tools and Supplies:
1. a soft fabric hat2. a rotary leather punch or Japanese screw punch (to make holes in the hat)
3. an eyelet setter
4. eyelets
5. hammer or mallet
6. glue gun
7. soldering iron with helping hands
8. Photon microcontroller with headers
9. Spark Fun Photon Wearable Shield
10. Lily Pad Simple Power
11. 500 mAh Lipo cell battery
12. 10X SMD RGB LED's (or sewable Adafruit NeoPixels)
Note: NeoPixels are much easier to solder, but the SMD RGB LED's are more compact.
13. stranded silicon wire (I used red, black, and yellow)
14. 5 male to female jumper wires (2 black, 2 red, 1 yellow)
15. Velcro squares
Directions:
The firmware/ code I'm using was shared by Matt Holmes in his NeoPixel reindeer project on GitHub. If you are new to the Photon, you might want to spend a little time reading the tips Matt Holmes shares to help you get started with the proper libraries.
1. Upload the CheerLights code to your Photon. Modify the code so that the PIXEL_PIN is D7 instead of D0 and the PIXEL_COUNT is 12 instead of 1.
#define PIXEL_PIN D7
#define PIXEL_COUNT 12
1. Upload the CheerLights code to your Photon. Modify the code so that the PIXEL_PIN is D7 instead of D0 and the PIXEL_COUNT is 12 instead of 1.
#define PIXEL_PIN D7
#define PIXEL_COUNT 12
2. Solder the male half of a black jumper wire to the ground pin of the Lily Pad Simple Power and the male half of a red jumper wire to the positive pin.
Solder the female half of a black jumper wire to one of the ground pins on the Spark Fun Photon Wearable Shield and the female half of a red jumper wire to the VIN pin on the shield.

3. Solder the female half of a red jumper wire to the 3Vpin of the Spark Fun Photon Wearable Shield. Solder the female half of a yellow jumper wire to the D7 pin. Solder half of a male black (I used brown) jumper wire to the other ground pin. Insert the jumper wires attached to the Lily Pad Simple Power into their corresponding male jumper wires on the Spark Fun Photon Wearable Shield.
4. Find an old hat that could use a makeover.Solder the female half of a black jumper wire to one of the ground pins on the Spark Fun Photon Wearable Shield and the female half of a red jumper wire to the VIN pin on the shield.

3. Solder the female half of a red jumper wire to the 3Vpin of the Spark Fun Photon Wearable Shield. Solder the female half of a yellow jumper wire to the D7 pin. Solder half of a male black (I used brown) jumper wire to the other ground pin. Insert the jumper wires attached to the Lily Pad Simple Power into their corresponding male jumper wires on the Spark Fun Photon Wearable Shield.
 |
| (Black felt is flexible enough to roll and bend, making it easy to poke holes with the leather punch). |
5. Select an eyelet setter. A universal eyelet setter may be easier to use than the squeezable type if you plan to place eyelets far from the hat's brim.

6. Use the leather rotary punch or Japanese screw punch to create holes in your hat that are slightly smaller than the eyelets you're using. Set the eyelets so that the finished sides are visible from the front of the hat and the rough edges are on the inside.
 |
| I've got a piece of granite under my hat to protect my work surface. |
7. Use a glue gun to protect the solder joints. You can Velcro the shield, Lily Pad Simple Power, and the battery to the hat now or later.

8. Solder the SMD RGB LED's (or Adafruit NeoPixels) together with stranded wire, ensuring that the wire is long enough to reach each of the holes that you made. I used black wire for ground, red for power, and yellow for the data lines.
 |
| I cut and tinned the data wires before soldering the strand together. I used a set of third hands to secure the notched corner (ground) as I worked. |
If you're using SMD RGB LED's, take note that one corner has a notch in it which denotes ground. Use the ground notch to ensure that all of your LED's are oriented properly as you work.


9. When you're finished soldering the lights, solder the female halves of the red, black, and yellow jumper wires to the matching wires attached to your light strand.
Verify that the data in is positioned at the top of the strand.
Switch on the power to the Lily Pad Simple Power.
Once your Photon connects with the Internet, you should be able test your test your light strand. After ensuring that all of your LED's are working properly, protect the solder joints with hot glue.
Protect the solder joints with heat shrink wrap or electrical tape.

10. Insert the female jumper wires attached to the light strand into their corresponding male jumper wires on the Spark Fun Photon Wearable Shield

11. Switch on the power to the Lily Pad Simple Power. Once your Photon connects with the Internet, you should be able test your test your RBG LED/ NeoPixel strand.
12. After ensuring that all of your LED's are working properly, protect the solder joints with hot glue.


14. Enjoy your awesome new internet-connected creation!

Matt Holmes, you are a true hero for sharing your code (and your reindeer project) with the world! THANK YOU.