Showing posts with label raspberry pi. Show all posts

Tuesday, April 4, 2017

CheerLights, Node-Red, & Raspberry Pi

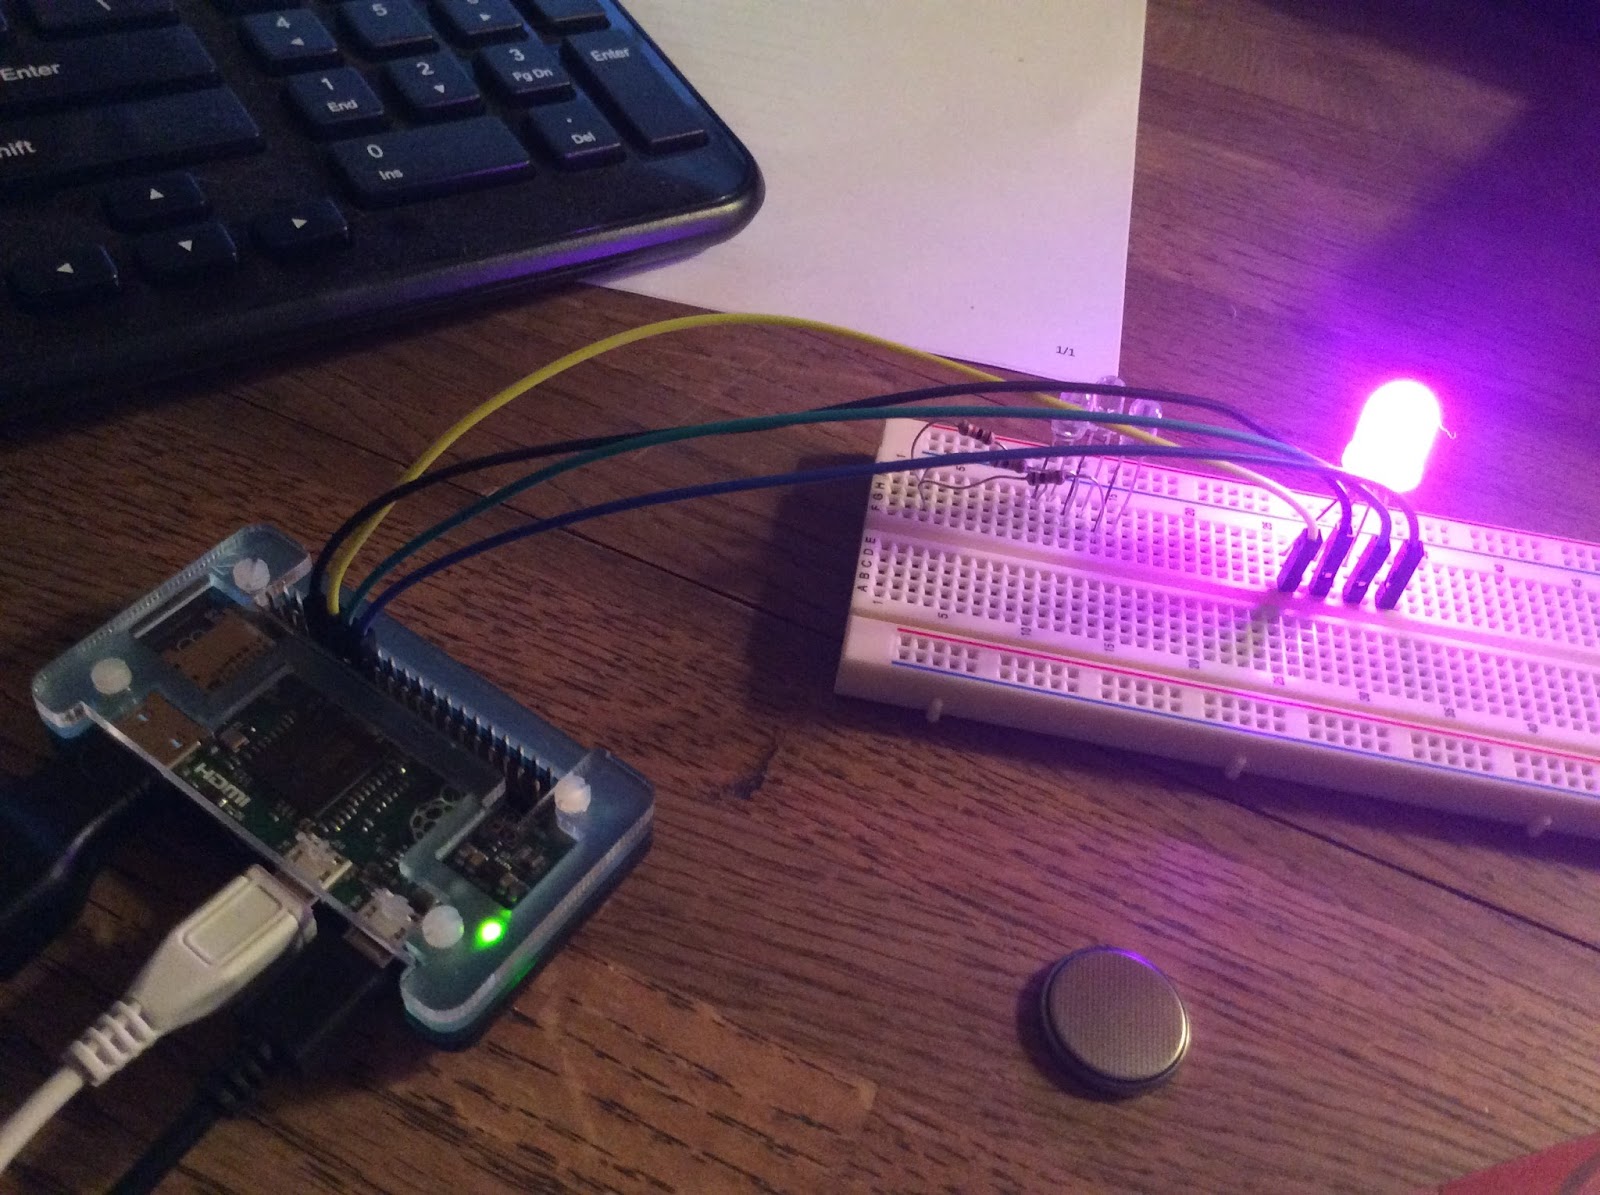
I first experimented with CheerLights a few months ago while attempting to better understand the Internet of Things.  Today, I'm using a Raspberry Pi Zero, rather than a Photon microcontroller. One dazzling detail about CheerLights is that it allows people all over the world to simultaneously synchronize the color of lights. Anyone can change the color of lights connected through the CheerLights API, by sending a tweet that mentions CheerLights, along with the name of a color.


Using this Node-red tutorial from Magpi magazine, I was able to get CheerLights up and running on my Pi with relative ease. In the process, I learned a little bit about Node-red, a graphical interface for interacting with smart objects through the web.  Of note, I used a 10mm RGB LED with a common cathode, rather than the suggested Ledborg or three separate LEDs.

This diagram shows the flow used to trigger CheerLights on a Raspberry Pi using Node-Red

I'm wondering what else might be achieved with Node-red.  The interface is not entirely intuitive, but it seems like it could be useful tool for learning how smart objects talk and interact on the internet.

Sunday, March 5, 2017

Raspberry Pi & Weather Underground Data Experiments

Over the past couple of weeks, I've been playing around in an attempt to better understand and apply weather data that's available on the web.

As part of this journey, I hooked up my Raspberry Pi to a Sense hat, and used ThingSpeak to log the data. I lucked into finding this detailed tutorial, which helped me track my home's temperature and humidity levels (although I had to remove some strange characters in the code before it would compile properly).


I also completed Raspberrypi.org's Fetching the Weather exercise, to learn how to access data from a nearby Raspberry Pi Weather Station.  I was surprised that the nearest RPi weather station is in Quebec, Canada; I was hoping to find a school in Vermont that was using one.
Weather data from Canada using a Raspberry Pi Weather Station

This discovery led me down a path that was unrelated to my Python exploration, but splendidly related to weather data.  Finding it hard to believe that the nearest weather station was in Canada, I stumbled upon the Weather Underground API, which connects to weather data in my home town.  This prompted me to do a deeper dive to better understand how I might use that data, perhaps in combination with a Photon microcontroller, as part of an art project I was working on.

To make a long story short, I signed up for a Weather Underground account and was given an API key that allowed me to tap into JSON data using a dedicated channel that I created on ThingSpeak!  While I still have a lot to learn, I was able to use the MATLAB analysis feature (which allows you to "Get Data From a Webpage") to harvest weather conditions by typing in a unique URL containing my API key.  I was then able to record things like wind velocity and temperature. This meant that I could use data ranges that I specified to trigger functions on my Photon!  I know this is dorky, but the learning curve has been exhilarating!

A smattering of JSON data that may be harvested through Weather Underground


Saturday, April 30, 2016

Raspberry Pi Robot

I recently started learning about Raspberry Pi. One thing I'm really excited about is the CamJam EduKit #3 Robotics kit, available through the Pi Hut. In the process of experimenting with this kit, I've started learning basic programming in Python, and I'm starting to understand how the GPIO pins work.  In addition to coming with two motors and some wheels, the kit comes with a line sensor and an ultrasonic sensor to help your robot avoid obstacles. Support worksheets for the kit are pretty easy to follow and encourage experimentation.


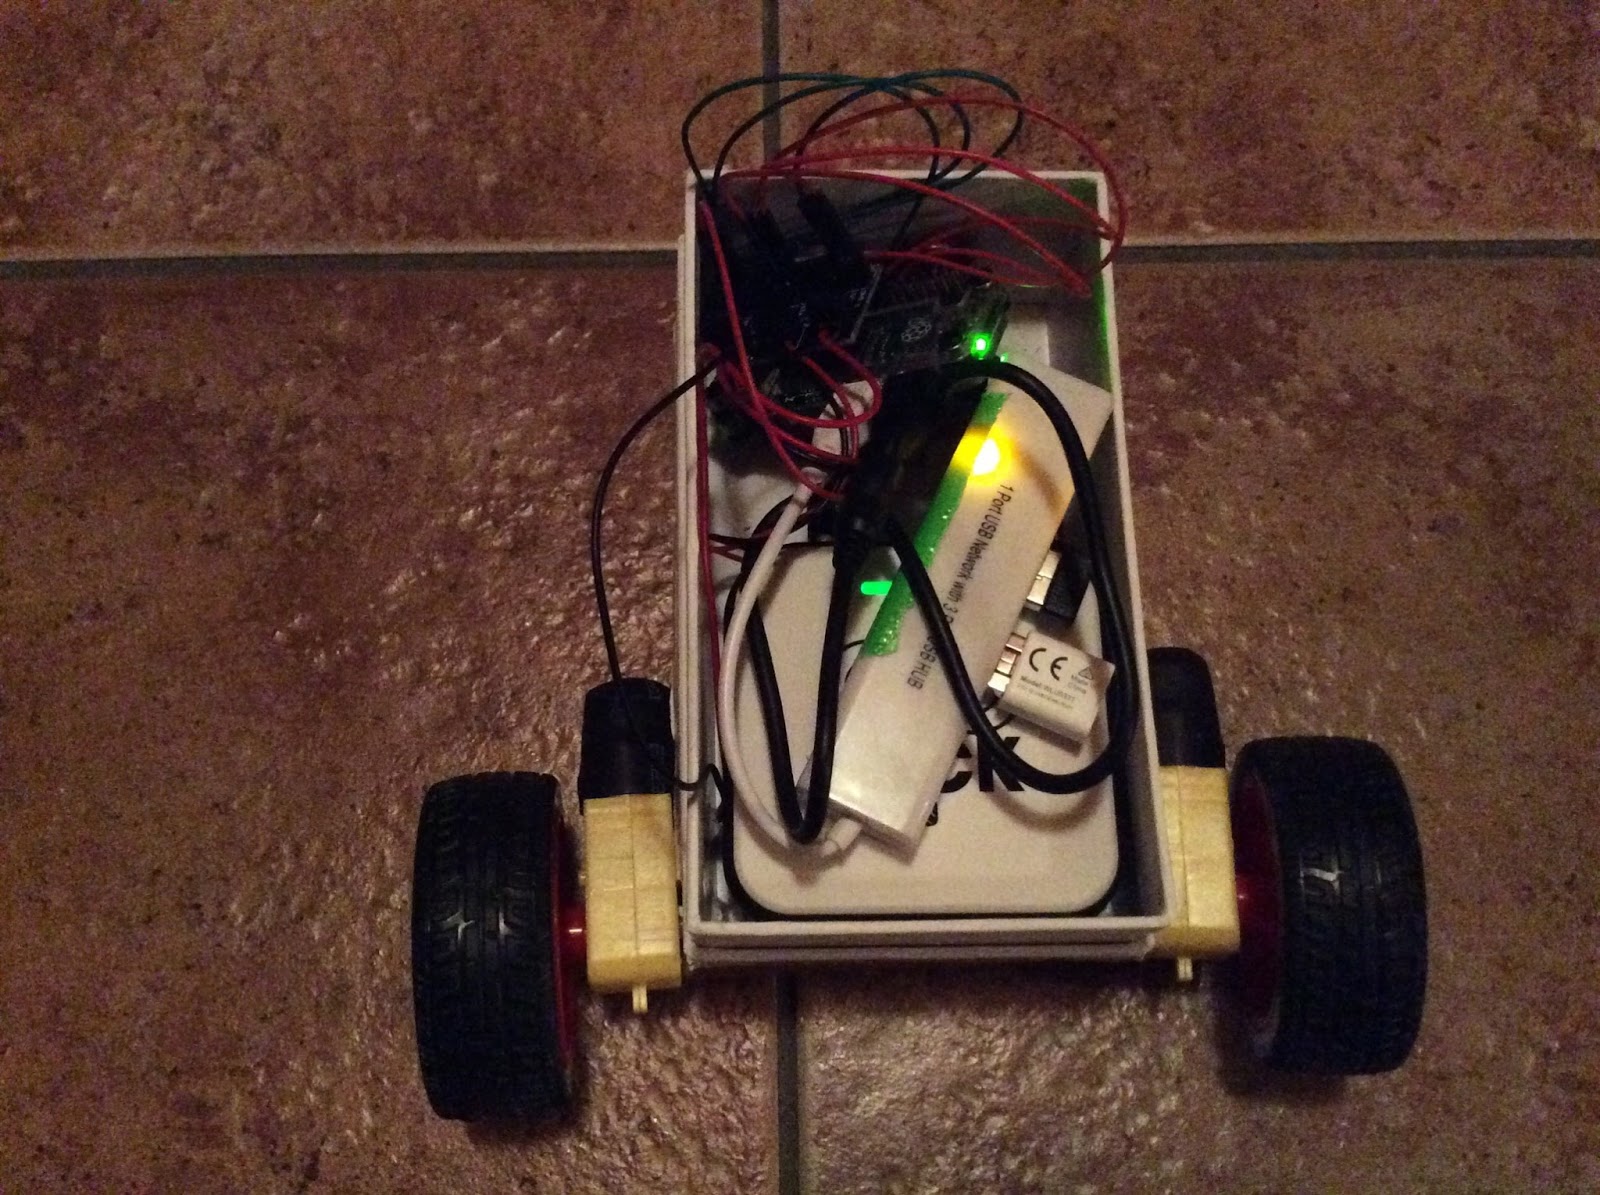
Pi Zero Robot


In  one breakthrough, I learned how to talk to my Pi using another computer via Secure Shell (SSH). Now, my Pi doesn't have to be tethered to a monitor, which is useful for building things that move.

While most of the code written for the CamJam EduKit #3 works the same way with a Pi Zero as as a Pi 3, the ultrasonic sensor appears to be an exception.  I don't yet understand why, but I've confirmed this to be the case.


Pi Zero Robot Innards

Thursday, April 28, 2016

Diving Deeper into Raspberry Pi

After a lot of trial and error, my Raspberry Pi 3 and Pi Zero are both up and running on wifi.  The biggest obstacle ended up being that our router was using a WEP key instead of a WAP key. While I don't fully understand how these differ, the router was the root of my difficulty.  I originally attempted to change the pi's configuration with code, but I was unsuccessful.

After changing a setting on the router itself (from WEP to WAP), writing a clean image of Raspian (via NOOBS), followed by running updates (via Ethernet), was enough to work on my Pi3.


I used the following updates:

sudo apt-get update
sudo apt-get upgrade -y
sudo apt-get dist-upgrade -y
sudo rpi-update

Afterwards, I rebooted the Pi, took out the Ethnernet cable, and re-typed my wifi key.

While I wasn't able to directly replicate these results using the Pi Zero on its own, moving the SD card from my Pi3 to the Pi Zero did the trick.

Being new to Raspberry Pi, I'm excited that I've gotten this far.  It's challenging to wade through all of the information available online, because so much of it is outdated or too complex.

At this point, I know enough to be dangerous.

For example, I can use sample code to make a Pimoroni Scroll Phat blink.


Thursday, February 11, 2016

Puttering with Raspberry Pi Zero

Today I took the plunge and got my Pi Zero up and running for the first time!  I haven't gotten it connected to wifi yet, but that's my next step.

First, I need to get a USB hub, because I don't have enough ports to accommodate a wireless keyboard and a mini wifi module.

Although I haven't created anything useful yet, I was able to create a silly Scratch program and experiment with Pi's version of Minecraft.  The biggest challenge, so far, has been using the tiny keyboard!


Thanks to a couple of blog posts by Lucie deLaBruere, I knew that I could hook the Pi up to a projector as a display output.

Since my projector was old, I needed to use an additional VGA to HDMI adapter, but it worked like a charm.

Lucie's advice to plug the projector in first and the power to Pi last allowed me to get up and running on the first attempt!